Everyone has pulled what was once a white garment from the wash that’s now turned pink. All it takes is one dark item in your white load to transfer dye from one fabric to another. If you’re faced with some clothes that have turned an unwanted shade of pink or grey, don’t let the fabric dry. Instead, treat the dye transfer with a liquid detergent that has bleaching agents, like Ariel, to remove those dyes. Follow our Ariel stain solutions tips to remove dye transfer stains.

Removing dye transfer stains
1
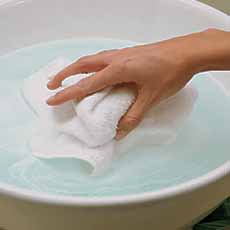
Soak
For dye transfer removal, fill the sink with warm water and create a soaking solution by adding Ariel Original Washing Liquid. Leave the garment to soak in the solution for 1 hour.
2
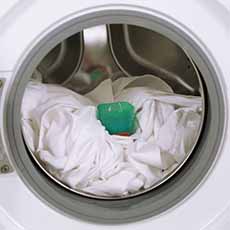
Load
Without rinsing off the washing detergent, place the garment into the washer with other similar items. Leaving the washing liquid soaked on the garment will give your wash that extra boost of cleaning power.
3
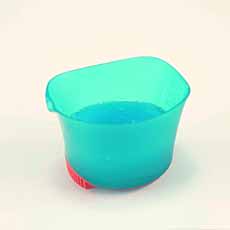
Dose
You can use the cap to ensure you use the right amount of washing detergent. Just fill the cap with the right amount of washing liquid, and place it into your washing machine, on top of your clothes.
4
Wash
Wash on the usual cycle, on the hottest wash temperature allowed according to the care label. Always follow the instructions given on the fabric care label.

5
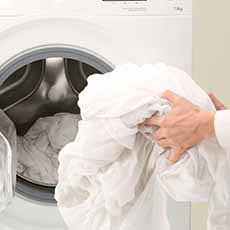
Unload
When the cycle is complete, unload the garments immediately.


If dye transfer stains persists after washing, pre-treat the garment again using Ariel Original Washing Liquid, letting it soak for 20 minutes. Then, rewash in warm water with Ariel before drying.
Effective stain removal on a variety of stains
Dye transfer can easily happen, but luckily Ariel can deal with stain removal, as well as help you to keep whites white and also delivers great results when washing colours. Just follow our laundry steps above and stop worrying about any discolouration, with Ariel’s outstanding results in the first wash.
Related articles
Mystery stains? Pre-soaking can help
When you don’t know where your stain is coming from.Pre-soaking stained or dingy laundry items can help restore your favourite things—be it a shirt or a child’s blankey—to their former bright glory.
How to treat cotton garments for the best stain removal
Cotton is a durable, soft fibre, and most clothes today are made of it. Unfortunately, it does have one serious fault: It tends to shrink when washed and dried.
How to remove paint from clothes
Paint can help brighten up your world, but get some on your clothes and you’re more likely to feel frustration than joy.

