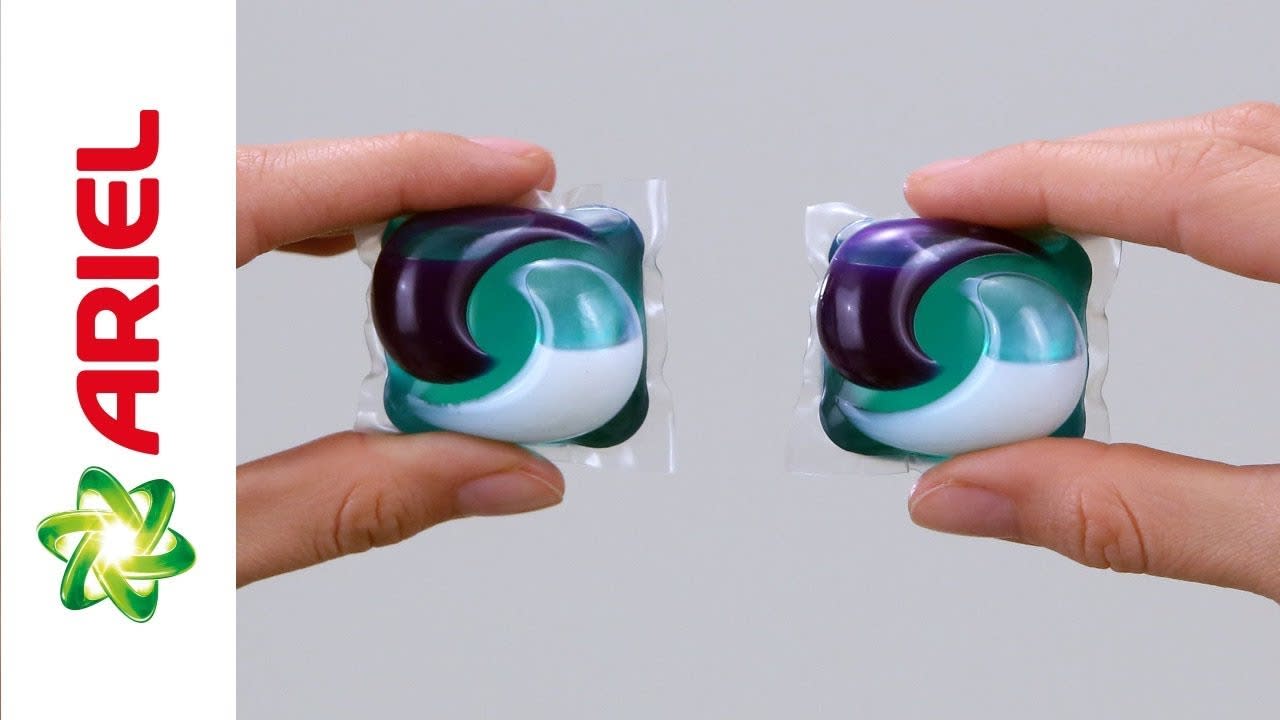
Laundry is one of life's constants, which makes it all the more important to know how to do it more efficiently. Let Ariel’s comprehensive laundry guide help you learn the ins and outs of washing clothes through seven simple steps, which cover important topics such as sorting, dosing, and choosing the right wash cycle.
How to Do Laundry In 7 Easy Steps
1. Understand Your Washing Symbols
Washing labels may look like the writing system of an alien civilization, but they’re actually quite easy to understand, not to mention how important they are when it comes to properly caring for your clothes. Below we have collected some of the most common laundry symbols you’ll find on your garments’ fabric care labels:
Wash: These symbols will help you decide if your clothing is safe to wash in your washing machine, and which setting, and what temperature you should use.

Bleach: Before you turn to your bottle of bleach to make your whites shine like they used to, it’s worth taking a look at your garment’s fabric care label to see if the clothing can handle bleaching agents.

Drying: In addition to washing and ironing, the laundry process also includes drying. To prevent your garment from shrinking or becoming misshapen when drying, you can find a number of helpful symbols on the fabric care label, informing you of the most sure-fire way to dry your clothes without causing any damage to the fabric.

Ironing: Ironing symbols depict an iron with dots inside representing the maximum temperature that you should use to iron the garment.

Dry cleaning: Some garments are better off being handled by a professional—that’s when dry cleaning comes into the picture. These symbols are intended to help you decide if your piece of clothing should be dry cleaned, and to inform the dry-cleaner what solvent to use.

Since no two materials have exactly the same laundry needs, it’s crucial to read your garments’ fabric care labels as the first step of your laundry routine, so that you’ll know how to care for each one of your clothing items. Learn more about how to read laundry symbols or simply download or print our free laundry symbol cheat sheet to use anytime you need it, so that you can give your clothes a longer, cleaner life:
2. Sort Laundry Like a Pro
Once you’ve become acquainted with fabric care labels, it’s time to learn how to get sorting right. Here’s a number of sorting methods you can turn to for excellent results:
| Sort By | Purpose |
|---|---|
| Color Shades | Darker dyes can ruin lighter fabrics, so it’s important to separate your greys, blacks, navies, reds, dark purples and similar colours into one load, and your pinks, lavenders, light blues, lights greens and yellows into another load. |
| Fabric Weight | To protect your finer fabrics from getting damaged inside the drum, make sure to wash and dry heavier items, such as towels, in a different load from lighter weight garments. |
| Fabric Type | As different fabrics require different water temperatures, we recommend that you wash your more delicate pieces of clothing separate from your more durable clothes. The same applies to items with zippers and buttons and knitwear and lingerie. |
| Level of Dirtiness | Heavily soiled items usually need to be pre-treated and need more agitation from the machine to be properly cleaned, so wash them separately on a longer, tougher cycle. |
3. Learn How to Pre-treat the Different Kinds of Stains
Heavily stained or soiled clothes need to be pre-treated. The logic behind pre-treating is to loosen up the stain particles embedded deep inside the fabric of your clothes, thus making the stain easier to wash out during laundry. You can pre-treat your stained clothes in a number of different ways, but pouring liquid detergent onto the stain and soaking the garment are two of the most often used methods.
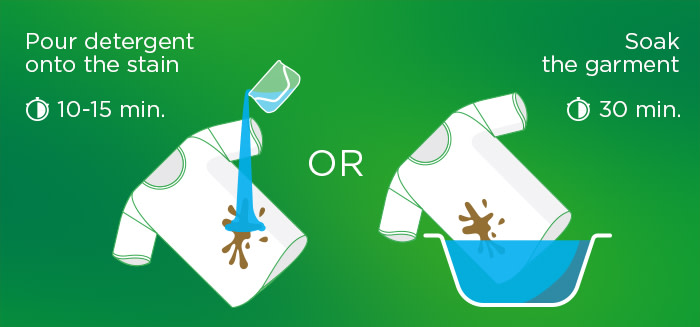
Here’s how you can deal with various stain types:
Coffee, tea, berry, or sweat stains: Pour the liquid detergent directly on the stain. Next, work the detergent into the fibres by using a soft-bristled toothbrush or gently rubbing the fabric together, then let the garment sit like this for a couple of minutes.
Dirt or motor oil stains: Fill up your sink with water and prepare a soaking solution with Ariel liquid detergent. Let your garments soak for 30 minutes before washing.
Food grease, such as butter, margarine, and cooking oil: Rub dish detergent onto the stain, then pre-treat the stained area with Ariel liquid detergent and leave for approximately 10-15 minutes.
Protein-based stains, like blood and baby poop: After getting rid of any excess stain from the garment, treat the stain with Ariel liquid detergent, using the pre-treat cap to evenly spread the detergent.
4. Use the Correct Amount of Detergent
Getting detergent dosing right is critical for getting impeccably clean clothes. There are a number of things that play a factor in determining how much detergent you should use, including the size and soil level of your laundry load, how hard the water is in your area, whether you’re using an HE or a regular washing machine, and the type of detergent you are using. You can find the correct dosing method printed on the package of every Ariel detergent, or check out our quick guide on dosing various Ariel detergents below.
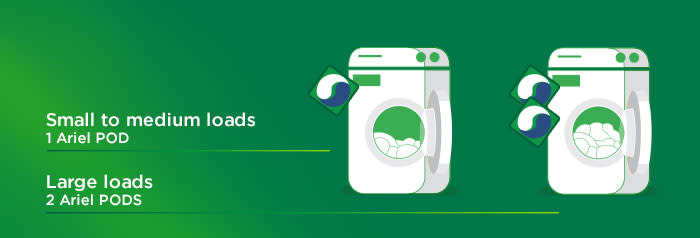
Ariel All-in-1 PODS Dosing Instructions
First, you have to determine your load size (see the next step). Once that’s done, simply place the sufficient number of laundry pacs into the drum (one washing capsule for small to medium loads, and two for large loads), then follow the instructions below. Learn more about how to use Ariel All-in-1 PODS here.
Ariel Liquid Detergent Dosing Instructions
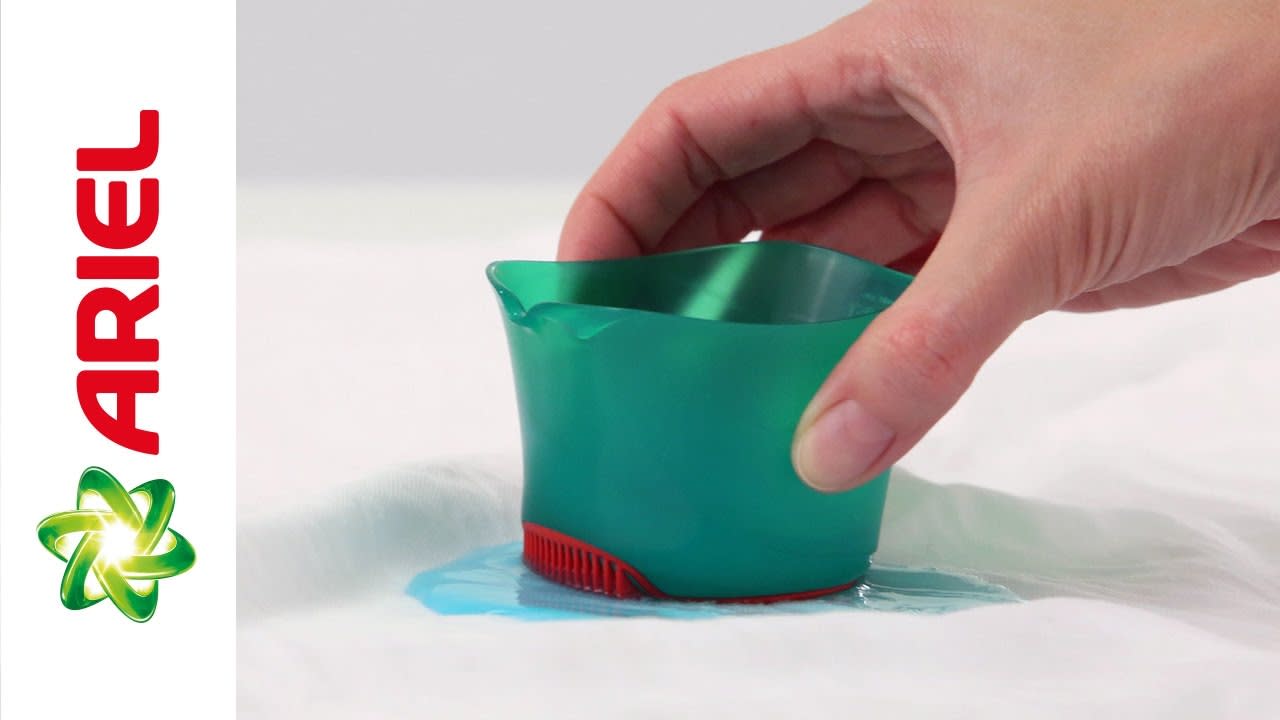
Simply fill the accompanying pre-treat cap in accordance with the size of your load and place it directly into your washing machine’s drum, on top of the laundry, to achieve outstanding results. Learn more about how to use Ariel Liquid Detergent here .

Ariel Washing Gel Dosing Instructions
Just like Ariel Liquid Detergent, Ariel Washing Gel is also equipped with an easy-to-use measuring cap. Check the recommended dosing on the inner part of the gel dosing cap, or learn how to use Ariel Gel here .

Ariel Washing Powder Dosing Instructions
To measure out the right quantity of washing powder based on your load size, simply follow the measurements on the side of your washing powder scoop, and pour the detergent directly into the detergent compartment of your washing machine. Learn more about dosing Ariel Washing Powder here .

Tip Box: How to Get Fresher, Softer Clothes
Give your clothes irresistible freshness and wrap them in wonderful softness with Lenor Spring Awakening Fabric Conditioner. Help protect your garments against stretching, fading and bobbling, and enjoy an uplifting softness by pouring the liquid conditioner into the fabric softener compartment of your washing machine when you add the detergent.
Do you want an even fresher scent experience? Keep your clothes smelling fabulously fresh all day long with Lenor Unstoppables In-Wash Scent Booster! Simply shake some scent beads into the cap, then toss them into the washer before adding your clothes for an invigorating scent.
5. Find the Perfect Load Size for Your Washing Machine
The amount of clothes you can wash is defined primarily by the size of your washing machine’s drum. Paying attention to your load size is important if you don’t want to waste time and energy. A simple way of finding out if it’s time to stop adding more clothes into your machine is using the palm trick. Just place your hand between the wall of the drum and your clothes:
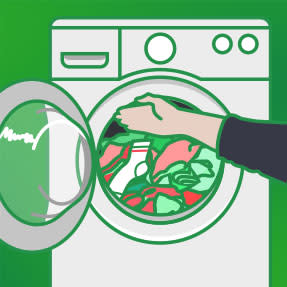
If it fits, you’re good to go;
If there’s still more space, put more clothes in;
If you can’t squeeze in your hand, take a few items out.
6. Select the Proper Wash Cycle and Temperature
Checking the fabric care label helps you decide on which washing machine cycle to use with your garments. In addition to the detergent you choose, your laundry results also depend on factors such as agitation speed and water temperature. After sorting your items based on colour or fabric type, your next step is choosing the right washer cycle. Check the table below to see what speed and what temperature you should use for achieving the best results:
Learn About the Different Washing Machine Cycles
| Cycle | When to use it | How it cleans |
|---|---|---|
| Cottons | To remove dirt and stains for durable fabric. i.e. sheets, towels, whites, heavily-soiled items, cotton underwear and socks. | • High agitation wash • High-speed spin cycle • Adjustable temperature |
| Delicate | Gentle cleaning for delicate items. i.e. lingerie, silk, wool, knits, and other delicate fabrics. | • Low agitation wash • Low-speed spin cycle |
| Synthetics | Everyday washing for synthetic garments with medium soiling. i.e. blended and synthetic fabrics, like polyester, jeans, and jumpers. | • Medium agitation wash • Low-speed spin cycle • Warm-to-cool temperature |
| Quick Wash | Everyday washing that needs to be done quickly, with minimal soiling, but not for delicate garments. | • Shortened wash cycle • High-speed spin cycle |
| Hand Wash | Gentle cleaning for very delicate, ‘hand wash only’ garments. | • Low speeds of agitation • Low-speed spins |
Use the Correct Water Temperature
Although cleaning heavily soiled clothes is usually more effective on warmer temperatures, it can come with a few downsides, such as fading colours and shrinking. Check our water temperature table below to master the science of selecting the right wash temperature for your garments.
| Wash Temperature | When to use it | Purpose |
|---|---|---|
| Cold Wash (30°C or below) | Wash lightly to moderately soiled items from your daily laundry load on low temperatures. | Washing on a cold water setting will not only save you energy, it also gives your clothes a gentle clean. |
| Warm Wash (40°C) | Wash items that have been in contact with body fluids, such as underwear, on 40°C. | Provides you with an efficient clean while protecting against fading or shrinking. |
| Hot Wash (60°C and above) | Use to remove the toughest stains and clean clothes worn by someone who has been sick. Use a powder detergent for the best results. | Gives your tough-stain items a deep clean. |
7. Learn How to Dry Your Clothes to Avoid Damage
The wash cycle may have ended, but before you can enjoy the stainless and refreshing clean of your clothes, there’s still one thing you need to do: dry them. Whether you’d like to air dry your garments or use a tumble dryer, it’s important that you take them out of your washing machine immediately after your wash is finished to prevent musty smells from forming.
As always, check the care labels before you put your items inside the dryer: Some fabric types weren’t designed to withstand the conditions prevailing in a tumble dryer, so you will need to air dry them.
To help you get the best results, here’s a quick guide to fabric care labels’ drying symbols.

Now, same as with your washing machine, make sure not to overload your dryer, so that all of your garments will have enough room to tumble. Add a Lenor Fabric Softener dryer sheet to your cleaned laundry to help protect your items against creasing, static cling, and loss of freshness, and enjoy the feel of soft, clean, fresh-smelling clothes!
Whether you use Ariel PODS®, liquid, powder, or gel detergent, thanks to our comprehensive laundry guide and this quick video summary, you’ll master laundry basics in no time!
